RV Pad Installation in Gilbert AZ: 2026 Cost & Permit Guide
A real RV pad is more than a slab of concrete. It is a graded, drained, permitted, often-utility-hooked surface that has to handle a 10,000 to 30,000 pound vehicle without cracking. Here is what an RV pad install actually costs in Gilbert in 2026, the surface options, the hookups that matter, and the Town and HOA rules that catch most owners.
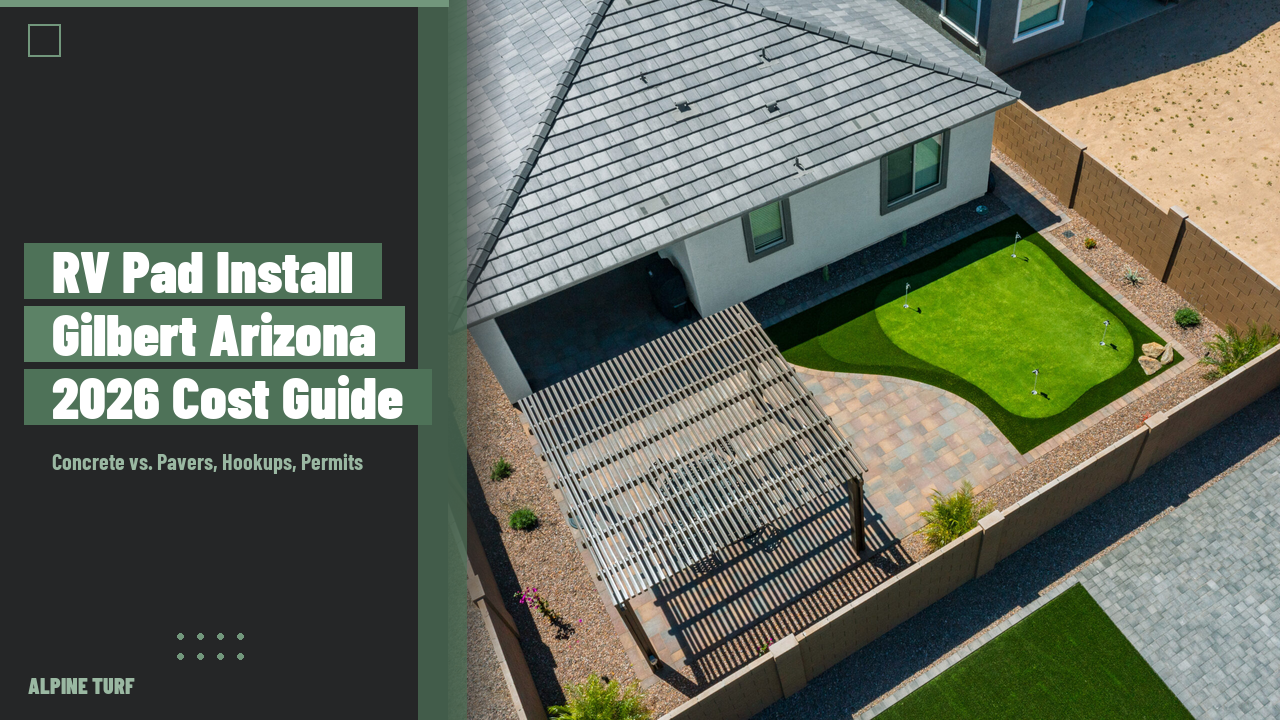
Gilbert has more RV ownership per capita than almost any other suburb in Arizona. Big lots, family-friendly streets, and easy access to Apache Lake, Roosevelt, the White Mountains, and the rest of the AZ adventure map make it the kind of town where an RV in the side yard is a feature, not an eyesore. The problem is that a real, usable, code-compliant RV pad is not a weekend DIY job. The wrong slab cracks under a Class A within two summers. The wrong placement violates HOA rules and triggers a fine. And the wrong electrical hookup is a fire hazard and a permit violation.
This is the actual guide to RV pad installation in Gilbert AZ: realistic 2026 cost ranges by surface and scope, sizing math for every RV class, the hookups that turn a parking pad into a real home base, the Town of Gilbert and HOA rules that catch most homeowners, and the order of operations on a typical install.
Why a real RV pad is not a slab and a stake
Class A motorhomes weigh 15,000 to 30,000 pounds. Fifth wheels can hit 18,000 pounds loaded. A bumper-pull travel trailer with full water tanks can run 8,000 pounds. The Arizona heat cycle (110+ degrees in summer, mid-30s on winter mornings) expands and contracts that load on whatever surface you parked on. A slab poured wrong, on the wrong base, at the wrong thickness, with the wrong reinforcement cracks within one to three years. We have ripped out more of those than we have poured new from scratch.
A real RV pad has four ingredients:
- Excavation and grading. Strip the existing soil to the right depth, slope the pad for drainage (typically 1.5 to 2 percent away from the house), and confirm the soil below has the right compaction to hold the load.
- Base layer. A compacted crushed-granite or class-2 road base, typically 4 to 6 inches deep, that distributes weight evenly across the underlying soil.
- Surface layer. Concrete, pavers, or stabilized decomposed granite, sized and reinforced for the actual weight of the vehicle that will live on it.
- Hookups (optional but most owners want them). 50-amp electrical, water tap, sewer dump, and sometimes a wash-down hose bib.
Skipping any one of these is what turns a $10,000 install into a $25,000 redo two years later.
Sizing your pad by RV class
The single biggest install regret we hear from homeowners: I wish I had built it longer. Sizing depends on what you own now AND what you might own in five years.
Add 2 to 3 feet on each side if you want slide-out room without stepping into landscaping. Add 5 to 10 feet of length if you tow with a truck and want both vehicles on the pad. Most owners we build for end up at a 14 by 50 footprint or larger because it future-proofs the install when they upgrade RVs.
Lot width is usually the constraint in Gilbert. Standard Gilbert lots are 50 to 70 feet wide. A 14-foot side yard pad against a 6-foot block wall leaves zero room for landscape on that side, which is fine if you commit to the use. Larger lots in Power Ranch, Seville, parts of Morrison Ranch, and the older Higley Road sections often have side yards that can fit a pad plus a planting strip.
Surface options: concrete vs. pavers vs. stabilized DG
Three real surface options work for Arizona RV pads. Each has different cost, lifespan, repair characteristics, and how it interacts with the rest of your landscape design.
| Surface | 2026 cost per sq ft | Lifespan | Best for |
|---|---|---|---|
| Concrete (6" reinforced) | $10–$16 | 25–40+ years | Heavy Class A, year-round storage, simplest maintenance |
| Pavers (3 1/8" thick on bedding) | $16–$26 | 25–30+ years | Curb appeal, easier repairs, blending with existing hardscape |
| Stabilized decomposed granite | $4–$8 | 5–10 years | Smaller trailers, budget builds, future-temporary use |
Concrete is the workhorse and what we recommend for any Class A or full-time fifth wheel. A 6-inch slab with #4 rebar on 18-inch centers and a properly compacted base handles any RV on the market. Aesthetic options include broom finish, exposed aggregate, stamped concrete, or integral color to coordinate with the home.
Pavers cost more up front but win on three things: curb appeal, repairability (you can lift and reset a damaged section instead of cutting and patching concrete), and design coherence with existing paver patios and walkways. The catch is that pavers require a structural base just as deep as concrete, and the bedding sand layer adds complexity. We use 3 1/8-inch (80 mm) commercial-rated pavers for RV applications, not the thinner residential pavers used on patios.
Stabilized decomposed granite is the budget option for travel trailers, lighter fifth wheels, and homeowners who think they might move the RV in a few years. It uses crushed granite mixed with a stabilizer, packed to a hard surface, and edged with steel or concrete curbing. It is not appropriate for full-time Class A storage in Arizona heat because the surface softens slightly in extreme heat under heavy point loads.
Utility hookups: 50A electrical, water, and sewer
A bare pad parks your RV. A hooked-up pad turns it into a usable second home for guests, a place to dump tanks before a trip, and an air-conditioned shelter during stays between trips. Three hookup elements matter.
50-amp electrical service. Class A and many fifth wheels need 50-amp 240V service, the same as a clothes dryer or electric range. The install runs a dedicated 50A breaker from your home panel, trenches the conduit to a weatherproof pedestal at the pad, and lands the RV-style receptacle (NEMA 14-50). Gilbert requires a permit and a final electrical inspection. Budget $1,500 to $3,500 for a clean install, more if your panel needs a service upgrade.
Water tap. A dedicated outdoor hose bib with a backflow preventer keeps potable water available at the pad. Budget $400 to $1,000 depending on distance from the existing main and whether trenching can run along the same path as the electrical conduit.
Sewer dump. A capped 3-inch or 4-inch ABS pipe tied into the home sewer line lets you dump tanks without driving to a dump station. This is the hookup that requires the most planning. The line has to slope correctly (1/4 inch per foot minimum), the cleanout has to be accessible, and the city or town requires a permit and inspection. Budget $1,500 to $4,500 depending on how far the new line has to run and what is between the pad and the existing sewer.
Combined, full hookups (50A electric, water, sewer) typically add $4,000 to $9,000 to the bare pad cost.
Town of Gilbert and HOA rules for RV storage
This is where most homeowners get blindsided. You can build a beautiful pad and still get a code violation if it sits in the wrong spot.
Town of Gilbert residential RV rules. RVs cannot be parked on the public street for more than 72 consecutive hours. On private property, the Town allows RV storage when the RV is parked on a hard surface (gravel, concrete, pavers) behind the front building line. Front-yard RV parking is generally not allowed except temporarily for loading and unloading. See the Town of Gilbert Development Services page for the current zoning code on residential vehicle storage.
HOA rules vary widely. Most newer Gilbert HOAs (Morrison Ranch, Power Ranch, Seville, parts of Agritopia) restrict visible RV storage. The typical workaround is screening: a 6-foot block wall, a gate that closes flush, or in some communities a roofed RV cover. Older Gilbert neighborhoods without HOAs have far more flexibility, which is one reason RV-pad demand is so strong in those areas.
Common HOA approval requirements:
- Screening from the street view (6-foot wall, opaque gate, or matching landscape)
- Hard surface only (no gravel-only pads in most HOAs)
- No commercial vehicles or trailers on the same pad
- Submission of a site plan showing the pad location, dimensions, and surface material
- Sometimes a maximum RV size or limit on how long the RV can be stored uncovered
We submit the HOA package as part of every install. The right design and screening plan clears most HOAs on the first review.
RV pad installation in Gilbert AZ: 2026 cost ranges by tier
Total project cost depends on size, surface, hookups, and whether you add screening or shade. Real ranges across the installs we have priced in 2025 and 2026:
- Bare pad, basic scope ($5,000–$12,000) — Stabilized DG or modest 10x30 concrete pad with no hookups. Right for small travel trailers or temporary storage.
- Standard pad with electrical ($8,000–$18,000) — Properly engineered 12x40 to 14x45 concrete or paver pad, 50A electrical pedestal, basic landscape integration.
- Full-hookup pad ($15,000–$30,000) — 14x45+ concrete or paver pad, 50A electric, water, sewer dump, screening wall or gate, lighting, full landscape integration.
- Premium pad with cover or carport ($25,000–$50,000+) — Above scope plus a permitted RV-rated shade structure or carport that protects the RV from sun. Adds significant lifespan to the RV but requires a Town building permit for the structure.
The correct install order for an RV pad project
The trades have to sequence correctly or you end up cutting through finished concrete to add a forgotten hookup. The right sequence:
- Design and HOA approval. Lock the pad location, surface, hookups, and screening. Submit to the HOA if applicable.
- Town of Gilbert permits. Electrical permit for the 50A circuit, plumbing permit for the sewer hookup. Pad-only installs without hookups usually do not need a building permit.
- Demo and clearing. Remove existing landscape, fence sections, or hardscape in the pad footprint.
- Excavation and grading. Strip soil to the right depth, slope for drainage, confirm subgrade compaction.
- Trenching for hookups. Run electrical conduit, water line, and sewer line through trenches that pass under the pad area BEFORE the base goes in. Cap and stub up at the pedestal location.
- Base preparation. Compacted crushed-granite or class-2 base, 4 to 6 inches deep, leveled and rolled.
- Surface install. Pour concrete with reinforcement, or set pavers on a sand bedding with edge restraint, or compact stabilized DG.
- Hookup installation. Mount the 50A pedestal, install the water bib, set the sewer cleanout. Schedule electrical and plumbing inspections.
- Screening and landscape. Install or repair the side-yard wall or gate, replant the surrounding landscape, add any lighting.
- Final inspection and walk-through. Town inspections clear, then homeowner walk-through.
Typical timeline: 3 to 6 weeks from initial consult to a usable pad with hookups. Premium pads with shade structures or carports add 2 to 4 weeks for the structure build and permit.
Common RV pad mistakes (and how to avoid them)
After ripping out and replacing more failed RV pads than we want to count, the pattern is consistent.
- Undersizing the pad. Owners build for their current RV. Within 3 to 5 years they upgrade to a longer rig and the pad is now 8 feet short. Build 5 feet longer than you think you need.
- Skipping the base layer. A 4-inch concrete slab poured directly on Arizona clay-and-caliche soil cracks under a Class A within two summers. The 4 to 6 inches of compacted base under the slab is non-negotiable.
- Thin concrete. Residential driveways are 4 inches thick. RV pads need at least 6 inches for any heavy vehicle. Saving on slab depth saves $1 to $2 per sq ft and shortens lifespan by 10+ years.
- Forgetting the conduit and stubs. Even if you do not install hookups now, run conduit and a capped sewer stub under the pad before pouring. Adding them later means cutting the slab.
- Pad placement that violates HOA setback. Some Gilbert HOAs require a minimum offset from the property line or from neighboring windows. The HOA submission catches this before the pour, not after.
- Wrong slope or no drainage. Pads that slope toward the house or have no slope at all pool water during monsoon. The pad surface should slope at 1.5 to 2 percent away from the home and toward an emitter or french drain in the side yard.
- Pure gravel pads for heavy RVs. Loose gravel shifts under tire loads and the RV starts to lean and settle. Stabilized DG with proper edging is the minimum for any vehicle over 8,000 pounds.
What Alpine Turf handles on an RV pad install
RV pad projects need coordinated hardscape, grading, electrical, and plumbing trades. Most general landscape installers in Gilbert do not run their own permitted electrical and plumbing, which means you end up project-managing three contractors. Alpine bundles the entire scope under one project manager.
- On-site design consult with sizing for your specific RV (current and future)
- Site plan and HOA submission package
- Town of Gilbert electrical and plumbing permit pulls
- Excavation, grading, and base preparation
- Concrete pour or paver install with proper reinforcement
- 50-amp electrical service trench, pedestal install, and inspection
- Water tap and sewer dump install with cleanout, slope verification, and inspection
- Screening wall, gate, or landscape integration
- Lighting for after-dark loading and security
- Final Town and HOA walk-through coordination
Best install windows in Gilbert: October through April for the lowest-stress concrete pours and easiest crew conditions. Summer installs are absolutely doable (we install year-round) but require early morning pours and additional curing protection.
Recommended sequence:
- Measure your current RV (length, width, height) and plan one size class up for future growth.
- Walk your side yard or back yard and identify the candidate pad location. Note distance to the home panel, the sewer cleanout, and the property line.
- Pull up your HOA architectural guidelines if you have an HOA. Identify any setback, screening, or visibility rules.
- Book a free on-site consult with Alpine Turf. We measure exactly, quote within 10 to 15 percent on the first visit, and walk through surface and hookup options.
- Approve the design. We submit the HOA and Town permit packages and lock the install schedule.
Most Gilbert RV pad installs finish 3 to 6 weeks from initial consult. Add 2 to 4 weeks for premium scope with a permitted shade structure or carport.
Frequently asked questions
How much does an RV pad installation cost in Gilbert AZ?
RV pad installation in Gilbert AZ runs $5,000 to $30,000+ in 2026, depending on size, surface, and hookups. A basic pad with no hookups starts around $5,000 to $12,000. A standard 14x45 concrete or paver pad with 50-amp electrical typically runs $8,000 to $18,000. Full-hookup pads with 50A electric, water, and sewer dump run $15,000 to $30,000. Adding a permitted shade structure or RV carport can push total project cost to $25,000 to $50,000+.
Do I need a permit for an RV pad in Gilbert?
The Town of Gilbert generally does not require a building permit for a residential RV pad if the pad does not tie into the foundation or alter drainage patterns. However, the 50-amp electrical hookup requires an electrical permit and final inspection, and any sewer dump line tied into the home plumbing requires a plumbing permit. Any RV-rated shade structure or carport requires a separate building permit.
Concrete or pavers for an RV pad in Arizona?
Concrete is the workhorse and what we recommend for any Class A or full-time fifth wheel: 6-inch reinforced slab, 25 to 40+ year lifespan, $10 to $16 per square foot. Pavers cost more up front ($16 to $26 per square foot) but win on curb appeal, repairability, and design coherence with existing patios. Both surfaces need the same compacted base under them; the surface choice is mostly aesthetic and budget-driven.
How big should my RV pad be?
Class A motorhomes typically need at least 14 feet wide by 45 feet long. Fifth wheels and Class C motorhomes work with 12x40. Travel trailers can fit on 10x30. Add 2 to 3 feet on each side for slide-outs. Add 5 to 10 feet of length if you want to park your tow vehicle on the pad too. Most owners we build for end up at 14x50 or larger because it future-proofs the install for an RV upgrade.
Can I park an RV in my front yard in Gilbert?
Generally no for long-term storage. The Town of Gilbert requires RV storage to be on a hard surface behind the front building line of the home. Temporary front-yard parking for loading and unloading is allowed. Most Gilbert HOAs add additional screening rules - the RV cannot be visible from the street, which means it has to sit behind a 6-foot block wall or opaque gate in the side yard or fully fenced back yard.
How long does an RV pad project take?
A typical Gilbert RV pad install runs 3 to 6 weeks from initial consult to a usable pad with hookups. Active install time on site is usually 1 to 2 weeks for the pad and 3 to 5 additional days for hookups. The rest of the timeline is design, HOA approval (2 to 4 weeks if applicable), and Town of Gilbert permit pulls. Adding a permitted shade structure or RV carport adds 2 to 4 weeks for the structure build.
Get your Gilbert RV pad quote
We design and install RV pads with proper base, surface, and full hookups across Gilbert, Mesa, Queen Creek, and the rest of the East Valley. Free on-site consult, tiered quote, and we handle HOA approvals and Town of Gilbert permits as part of every project.
Book your free quote →